
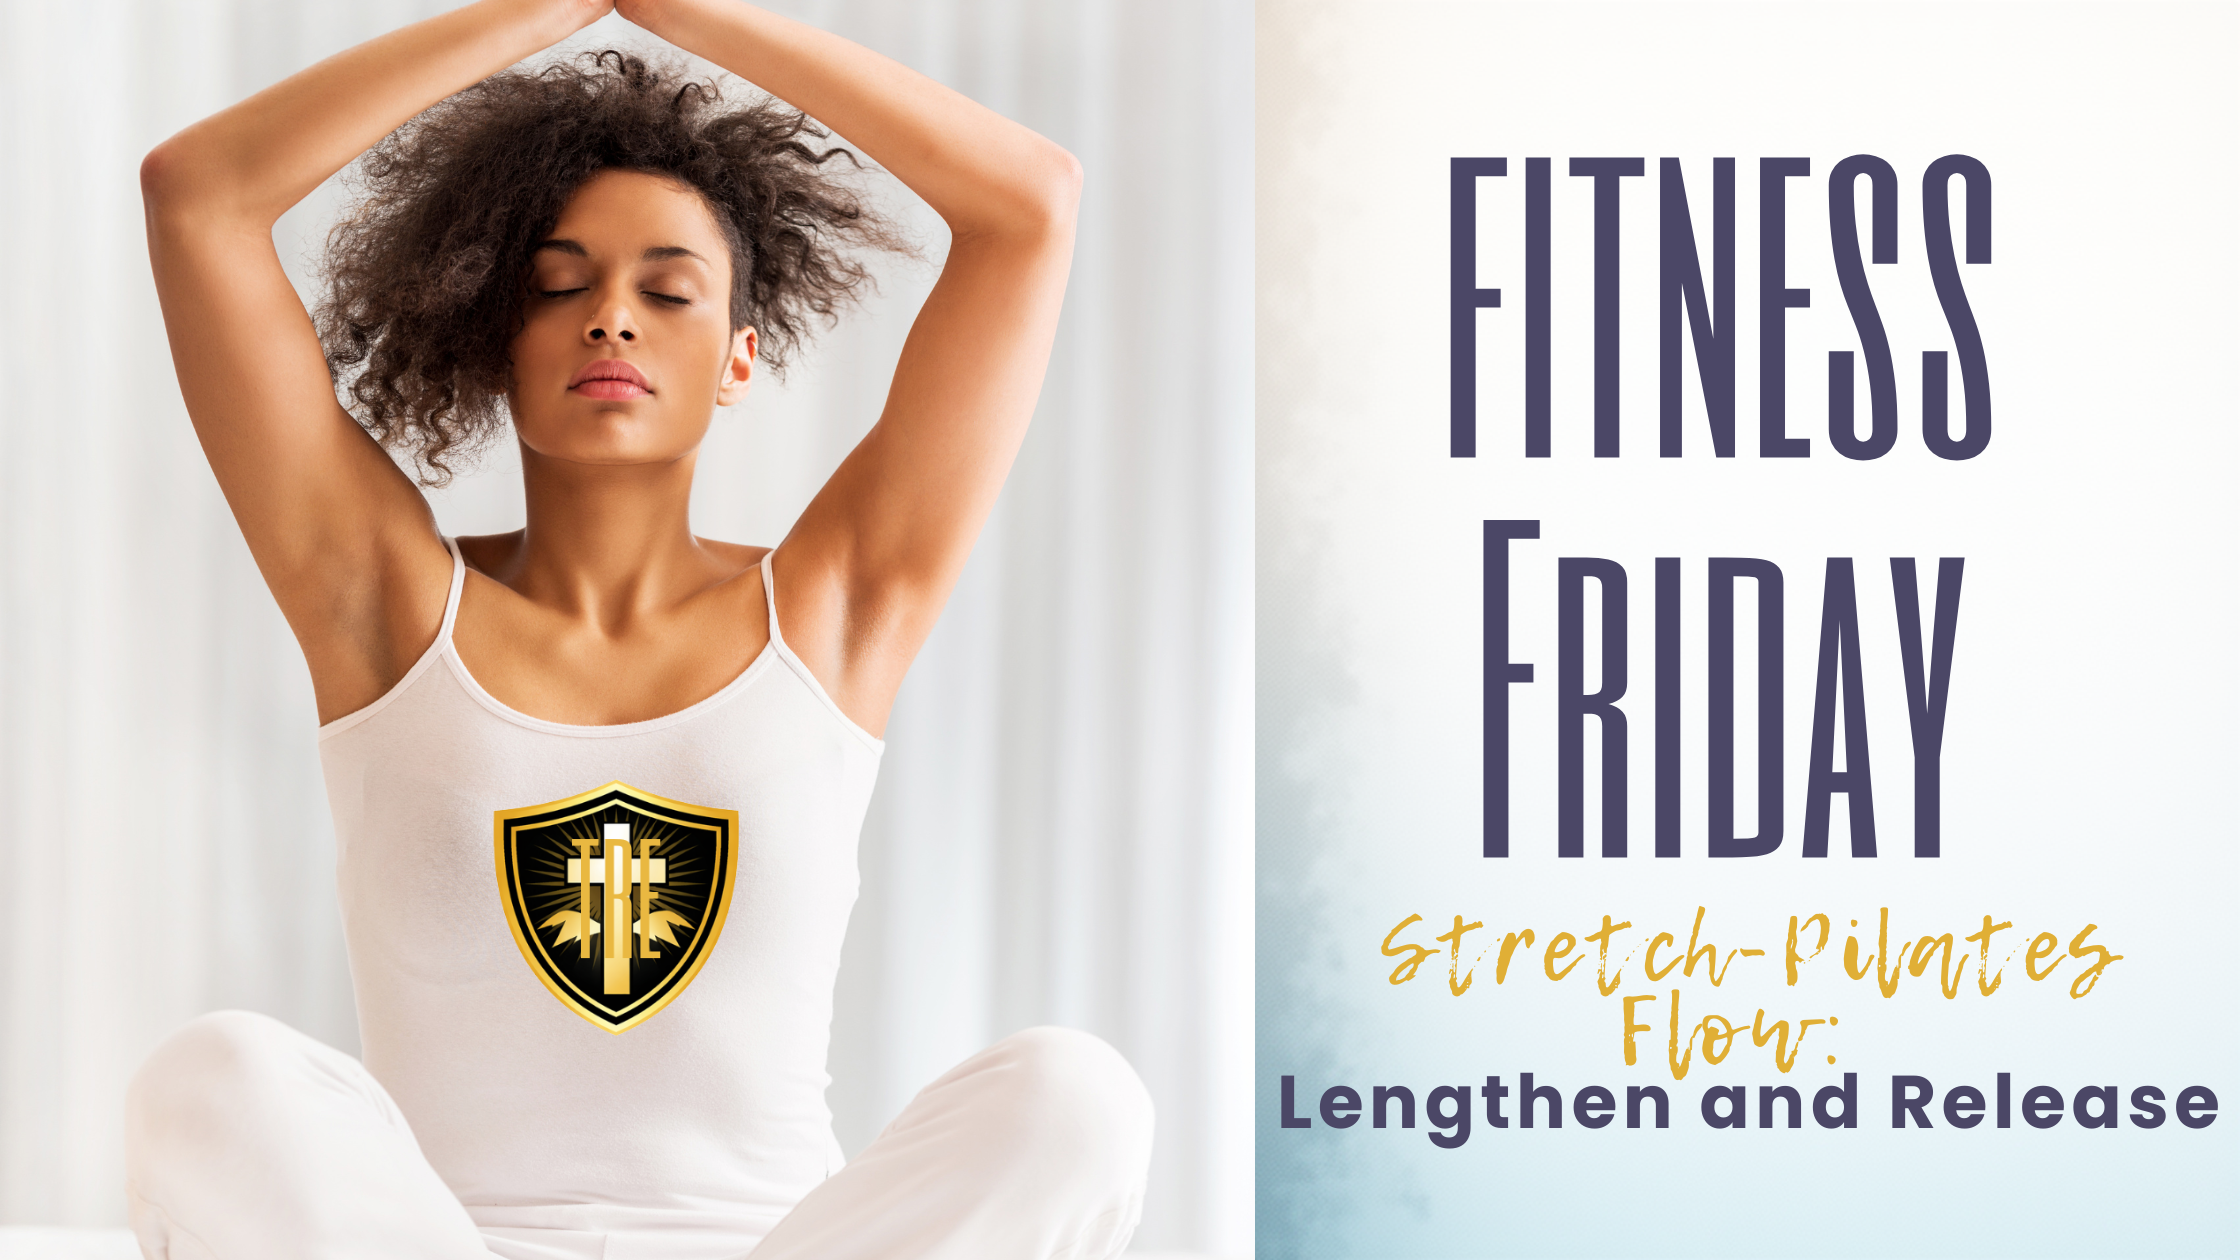
Stretch-Pilates Flow: Lengthen and Release
Sometimes your body does not need more intensity.
Sometimes it needs release.
When your hips feel tight, your hamstrings feel stiff, your lower back feels compressed, or your body feels like it has been carrying stress all week, a stretch-Pilates flow can help you slow down and reconnect.
This flow is designed to decompress the spine, release tight hips and hamstrings, improve mobility, and help your nervous system settle.
It is gentle, intentional, and restorative.
Sometimes your body does not need more intensity.
Sometimes it needs release.
When your hips feel tight, your hamstrings feel stiff, your lower back feels compressed, or your body feels like it has been carrying stress all week, a stretch-Pilates flow can help you slow down and reconnect.
This flow is designed to decompress the spine, release tight hips and hamstrings, improve mobility, and help your nervous system settle.
It is gentle, intentional, and restorative.
This is not about forcing flexibility. It is about creating space in the body.
The Workout Format
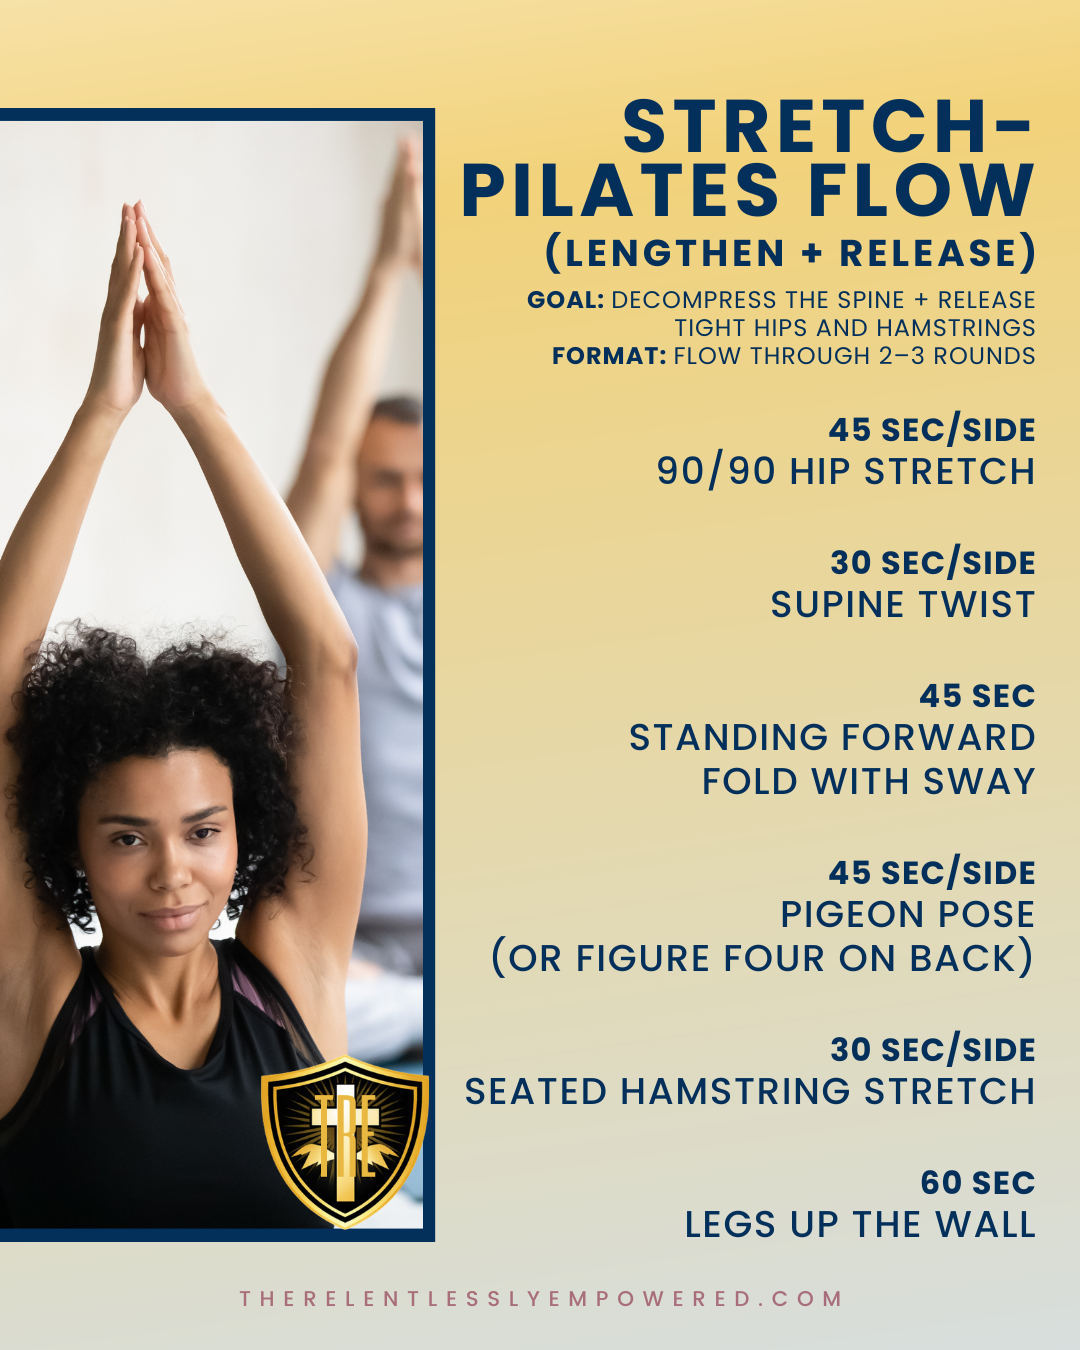
Goal: Decompress the spine and release tight hips and hamstrings
Format: Flow through 2–3 rounds
Exercises
45 seconds per side: 90/90 hip stretch
30 seconds per side: supine twist
45 seconds: standing forward fold with sway
45 seconds per side: pigeon pose or figure four on back
30 seconds per side: seated hamstring stretch
60 seconds: legs up the wall
Move slowly. Breathe deeply. Never force a stretch. If you feel sharp pain, numbness, tingling, or discomfort that feels wrong, ease out of the position.
Why This Stretch-Pilates Flow Works
This routine focuses on areas that often get tight from sitting, stress, workouts, long workdays, and everyday life.
The hips can hold tension.
The hamstrings can become stiff.
The spine can feel compressed.
The lower back can feel tight.
The nervous system can stay activated.
This flow uses gentle positions that encourage mobility, length, and release.
The goal is not to perform. The goal is to feel better when you are done.
How to Do the 90/90 Hip Stretch
The 90/90 hip stretch targets hip mobility and helps release tension around the glutes and hips.
How to do it:
Sit on the floor.
Bend your front leg so your front knee is at about a 90-degree angle.
Your front shin should be angled in front of you.
Bend your back leg so the back knee is also at about a 90-degree angle.
Sit tall through your spine.
Place your hands on the floor for support.
Gently lean forward over the front leg until you feel a stretch in the hip or glute.
Hold for 45 seconds.
Switch sides.
Form tips:
Keep your chest lifted.
Do not force your knees down.
Move only as far as your hips allow.
Breathe slowly into the stretch.
Modification:
Place a folded towel, pillow, or yoga block under your hip if sitting upright feels difficult.
Alternative:
Sit in a chair and cross one ankle over the opposite thigh for a seated figure-four stretch.
How to Do the Supine Twist
The supine twist helps release the lower back, hips, and spine.
How to do it:
Lie on your back.
Extend your arms out to the sides in a T-shape.
Bring your knees toward your chest.
Let both knees gently fall to the right side.
Keep your shoulders relaxed toward the floor.
Turn your head to the opposite side if comfortable.
Hold for 30 seconds.
Return to center and switch sides.
Form tips:
Do not force your knees to the floor.
Keep your breath slow.
Let the twist happen gently.
Relax your jaw and shoulders.
Modification:
Place a pillow between your knees or under your knees for support.
How to Do a Standing Forward Fold With Sway
This move helps lengthen the hamstrings, calves, and back while adding gentle movement.
How to do it:
Stand with your feet hip-width apart.
Soften your knees.
Hinge forward from your hips.
Let your torso fold toward the floor.
Allow your head and neck to relax.
Hold opposite elbows if comfortable.
Gently sway side to side.
Continue for 45 seconds.
Form tips:
Keep your knees bent as much as needed.
Do not lock your legs.
Let gravity help you.
Avoid bouncing.
Modification:
Place your hands on a chair, bench, or yoga blocks if reaching the floor is uncomfortable.
How to Do Pigeon Pose
Pigeon pose helps stretch the glutes, hips, and outer hip area.
How to do it:
Start on your hands and knees.
Bring your right knee forward toward your right wrist.
Angle your right shin across the mat as much as your hip allows.
Extend your left leg behind you.
Keep your hips as square as possible.
Stay upright or slowly fold forward.
Hold for 45 seconds.
Switch sides.
Form tips:
Do not force your front shin to be parallel.
Keep your hips supported.
Breathe into the stretch.
Avoid sharp knee pain.
Modification:
Place a pillow or yoga block under the hip of the front leg.
How to Do Figure Four on Your Back
If pigeon pose is uncomfortable, figure four on your back is a great alternative.
How to do it:
Lie on your back with knees bent.
Cross your right ankle over your left thigh.
Flex your right foot.
Reach behind your left thigh and gently pull the left leg toward you.
Keep your head and shoulders relaxed.
Hold for 45 seconds.
Switch sides.
Form tips:
Keep your crossed foot flexed to protect the knee.
Do not pull aggressively.
Let the hip open gradually.
Modification:
Keep the bottom foot on the floor and hold the stretch there.
How to Do the Seated Hamstring Stretch
This stretch targets the back of the thigh and can help reduce hamstring tightness.
How to do it:
Sit on the floor with one leg extended.
Bend the opposite knee and place the foot near the inner thigh.
Sit tall.
Hinge forward from your hips toward the extended leg.
Reach toward your shin, ankle, or foot.
Hold for 30 seconds.
Switch sides.
Form tips:
Keep your back long.
Do not round aggressively.
Bend the knee slightly if needed.
Breathe slowly.
Modification:
Sit on a folded blanket or pillow to elevate your hips.
You can also do this stretch seated in a chair with one leg extended.
How to Do Legs Up the Wall
Legs up the wall is a calming restorative position that helps the body relax.
How to do it:
Sit sideways next to a wall.
Carefully lie back and swing your legs up the wall.
Adjust your hips as close to or as far from the wall as feels comfortable.
Rest your arms by your sides or place one hand on your belly and one on your chest.
Relax your shoulders.
Breathe slowly.
Hold for 60 seconds or longer if comfortable.
Form tips:
Your knees can be slightly bent.
Your hips do not need to touch the wall.
Keep your breathing slow and steady.
Let your body settle.
Modification:
Place a pillow under your hips or bend your knees over a chair instead.
How to Structure the Flow
Move through each stretch in order.
Complete 2–3 rounds.
You can use this flow after a workout, before bed, after a long workday, or anytime your body feels tight and tense.
Do not rush through it. The benefit comes from slowing down and breathing.
Breathing Tip
Try this simple breathing rhythm during each stretch:
Inhale through your nose for 4 counts.
Exhale slowly for 6 counts.
Let your body soften with each exhale.
This helps shift the workout from simply stretching muscles to calming the entire system.
Final Thoughts
This stretch-Pilates flow is a reminder that wellness is not only about doing more.
Sometimes wellness is about releasing what your body has been carrying.
Tight hips, stiff hamstrings, a compressed spine, and a stressed nervous system can affect how you move, how you feel, and how you recover.
Give your body permission to slow down.
Lengthen. Release. Breathe.
That counts too.
Tight Hips, Low Energy, Stalled Progress? What I Learned About Movement, Strength, and Fat Loss After 35
For a long time, I thought fat loss was just about:
👉 Eating right
👉 Working out
👉 Staying consistent
And while those things matter…
There was something I wasn’t paying attention to:
👉 How my body was actually moving.
After my stroke, I became hyper-aware of things most people overlook:
• Balance
• Stability
• Range of motion
• Muscle activation
And I realized something powerful:
👉 If your body can’t move well… it can’t perform well.
👉 And if it can’t perform well… it won’t respond the way you want it to.
Introduction
For a long time, I thought fat loss was just about:
👉 Eating right
👉 Working out
👉 Staying consistent
And while those things matter…
There was something I wasn’t paying attention to:
👉 How my body was actually moving.
After my stroke, I became hyper-aware of things most people overlook:
• Balance
• Stability
• Range of motion
• Muscle activation
And I realized something powerful:
👉 If your body can’t move well… it can’t perform well.
👉 And if it can’t perform well… it won’t respond the way you want it to.
The Truth About Tight Hips
Most women—especially if you sit a lot—have:
• Tight hips
• Weak glutes
• Limited mobility
And that creates a chain reaction:
👉 Your workouts become less effective
👉 Your body compensates
👉 Your progress slows
Not because you’re not trying…
But because your body isn’t moving efficiently.
Why This Matters for Fat Loss After 35
After 35, your margin for error gets smaller.
Your body becomes more sensitive to:
• Stress
• Inflammation
• Poor movement patterns
So the goal shifts from:
❌ “Do more”
To:
✔ “Move better”
Because better movement = better results.

PART 1: MOBILITY (Open the Body)
1. 90/90 Hip Switches
Sit on the floor with both knees bent
Rotate both legs side to side
Keep your chest upright
Move slowly and with control
👉 This opens up the hips gently
2. World’s Greatest Stretch
Step into a deep lunge
Place one hand on the floor
Rotate your opposite arm toward the ceiling
Return and switch sides
👉 Full-body mobility in one movement
3. Deep Squat to Hamstring Stretch
Drop into a deep squat
Hold for a few seconds
Lift hips upward
Feel the stretch through your hamstrings
👉 This improves flexibility and control
PART 2: STRENGTH (Activate the Body)
4. Single Leg Glute Bridge
Lie on your back
One foot planted, one leg lifted
Press through your heel
Lift hips upward
Squeeze your glutes at the top
👉 This rebuilds strength where you need it most
5. Clamshells
Lie on your side
Knees bent, feet together
Lift your top knee
Keep hips stable
👉 Focus on slow, controlled movement
6. Bird Dog
Start on hands and knees
Extend opposite arm and leg
Hold briefly
Return and switch
👉 This builds coordination and stability
7. Fire Hydrants
Stay on hands and knees
Lift one knee outward
Keep hips level
Lower slowly
👉 You should feel this in your glutes
What This Really Does
This routine doesn’t just “stretch you out.”
It:
✔ Activates muscles that support fat loss
✔ Improves movement efficiency
✔ Reduces injury risk
✔ Helps your workouts actually work
Why This Supports Fat Loss
When your body moves better:
👉 You engage the right muscles
👉 You burn more efficiently
👉 You stay consistent longer
And consistency is what creates results.
The Bottom Line
Fat loss isn’t just about:
❌ Eating less
❌ Working harder
It’s about:
✔ Supporting your body
✔ Moving with intention
✔ Building strength from the foundation up
CTA
If you’re ready to stop guessing and start supporting your body the right way…
👉 Download this month’s FREE resource.